This guide will walk you through integrating in-app purchases into your application, explaining each step and concept along the way. Make sure you have at least one platform setup.
Platform Selection
First, select your client platform to get started:
Overview
We'll build the integration in these steps:
- Install and configure the cordova plugin
- Set up state management
- Initialize the store
- Handle purchase events
- Build the UI
- Test the integration
Step 1: Plugin Setup
First, install the Cordova Purchase Plugin:
cordova plugin add cordova-plugin-purchase
Next, create your basic configuration. This tells the plugin about your app and provides your Iaptic API key:
window.IAPTIC_CONFIG = {
  appName: '[APP_NAME]',
  apiKey: '[PUBLIC_KEY]'
}

// Define your product IDs (for Apple, Google or both)
const APPLE_SUBSCRIPTIONS = ['monthly_subscription'];
const GOOGLE_SUBSCRIPTIONS = ['monthly', 'yearly_2024'];
Step 2: State Management
To keep track of our store's state, we'll create a simple state management system. This will help us manage:
- Store readiness
- Processing states
- Active subscriptions
- Available products
- Error handling
Here's our State class:
class State {
  ready: boolean = false;
  error: string = '';
  isProcessingOrder: boolean = false;
  activeSubscription?: CdvPurchase.VerifiedPurchase;
  products: CdvPurchase.Product[] = [];
  render: (state: State) => void;

  constructor(render: (state: State) => void) {
    this.render = render;
  }

  set(attr: Partial<State>) {
    Object.assign(this, attr);
    this.render(this); // re-render the view when the state changes
  }
}
We use this state to render the UI when something changes (the SDK you're using probably provides a better way to do this, this is just a platform-agnostic example).
Step 3: Store Initialization
Now we'll create a service to handle the store. Let's break this down into manageable pieces.
First, the basic service structure:
class SubscriptionService {
  constructor(state: State) {
    this.state = state;
  }

  async initialize(): Promise<void> {
    // Register your products with the store
    this.registerProducts();

    // Handle purchase events
    this.setupEventHandlers();

    // Set up receipt validation with Iaptic
    const iaptic = new CdvPurchase.Iaptic(IAPTIC_CONFIG);
    CdvPurchase.store.validator = iaptic.validator;

    await this.initializeStore();
    this.state.set({ ready: true });
  }

  setupEventHandlers() {} // we'll implement this later
}
Next, let's add the product registration method. This tells the store which products we want to sell, their identifiers and types for each platform.
private registerProducts() {
  CdvPurchase.store.register([
    ...APPLE_SUBSCRIPTIONS.map(id => ({
      id,
      platform: CdvPurchase.Platform.APPLE_APPSTORE,
      type: CdvPurchase.ProductType.PAID_SUBSCRIPTION
    })),
    ...GOOGLE_SUBSCRIPTIONS.map(id => ({
      id,
      platform: CdvPurchase.Platform.GOOGLE_PLAY,
      type: CdvPurchase.ProductType.PAID_SUBSCRIPTION
    }))
  ]);
}
Finally, we initialize the store with platform-specific options:
private async initializeStore() {
  await CdvPurchase.store.initialize([
    CdvPurchase.Platform.GOOGLE_PLAY,
    {
      platform: CdvPurchase.Platform.APPLE_APPSTORE,
      options: { needAppReceipt: true }
    }
  ]);
}
To use this service, we'll initialize it when our app starts:
const state = new State(new View().render);
window.subscriptionService = new SubscriptionService(state);
window.subscriptionService.initialize();
Step 4: Building the Products UI
Let's build our UI in two stages: first displaying products, then handling purchases.
For this example, we'll use a simple javascript HTML renderer (to keep this example platform-agnostic). Your SDK will probably provide a better way to do this.
/* file: html.ts */

export type HTMLContent = ((string | undefined | null)[]) | string | undefined | null;

export type HTMLAttributes = {
  className?: string;
  onclick?: VoidFunction | ((ev: Event) => void) | string;
  src?: string;
  style?: string;
  type?: string;
  id?: string;
  value?: string;
}

const ATTRIBUTE_NAMES: { [key: string]: string } = {
  className: "class",
}

/**
 * Unsafe mini html library
 */
export class HTML {
  static tag(tag: string, content: HTMLContent, attributes?: HTMLAttributes) {
    if (content === null) return '';
    const attrString = attributes
      ? Object.keys(attributes)
        .map(key => `${ATTRIBUTE_NAMES[key] || key}="${cleanAttribute((attributes as any)[key] ?? '')}"`)
        .join(' ')
      : '';
    return `<${tag}${attrString.length > 0 ? ' ' + attrString : ''}>${HTML.toString(content)}</${tag}>`;
  }

  static pre(lines: HTMLContent) { return HTML.tag('pre', lines); }
  static div(lines: HTMLContent, attributes?: HTMLAttributes) { return HTML.tag('div', lines, attributes); }
  static span(lines: HTMLContent, attributes?: HTMLAttributes) { return HTML.tag('span', lines, attributes); }
  static p(lines: HTMLContent, attributes?: HTMLAttributes) { return HTML.tag('p', lines, attributes); }
  static b(lines: HTMLContent, attributes?: HTMLAttributes) { return HTML.tag('b', lines, attributes); }
  static h1(lines: HTMLContent, attributes?: HTMLAttributes) { return HTML.tag('h1', lines, attributes); }
  static h2(lines: HTMLContent, attributes?: HTMLAttributes) { return HTML.tag('h2', lines, attributes); }
  static center(lines: HTMLContent, attributes?: HTMLAttributes) { return HTML.tag('center', lines, attributes); }
  static button(lines: HTMLContent, attributes?: HTMLAttributes) { return HTML.tag('button', lines, attributes); }
  static img(lines: HTMLContent, attributes?: HTMLAttributes) { return HTML.tag('img', lines, attributes); }
  static input(lines: HTMLContent, attributes?: HTMLAttributes) { return HTML.tag('input', lines, attributes); }
  static label(lines: HTMLContent, attributes?: HTMLAttributes) { return HTML.tag('label', lines, attributes); }
  static form(lines: HTMLContent, attributes?: HTMLAttributes) { return HTML.tag('form', lines, attributes); }

  static toString(lines: HTMLContent) {
    if (lines === null || lines === undefined) return '';
    if (typeof lines === 'string') return lines;
    return lines.filter(l => l !== null).join('\n');
  }
}

function cleanAttribute(s: string | VoidFunction): string {
  if (typeof s === 'string') {
    return s.replace(/"/g, `'`);
  }
  else { // Function
    return cleanAttribute('(' + s + ')()');
  }
}
And implement our page renderer render method:
First, let's create a basic UI that shows available products and allows placing orders:
class PageRenderer {
  render(state: State) {
    return HTML.div([
      HTML.h2('Available Subscriptions'),
      this.renderProducts(state.products)
    ]);
  }
}
Our app will show a single page with a list of available subscriptions, let's implement the renderProducts method:
  private renderProducts(products: CdvPurchase.Product[]) {
    if (!products.length) {
      return HTML.div(
        'Loading products...',
        { className: "w3-container" }
      );
    }

    return HTML.div(
      products.map(product => this.renderProduct(product))
    );
  }
This function runs through each product and renders it as a card.
  private renderProduct(product: CdvPurchase.Product) {
    return HTML.div([
      HTML.h3(product.title),
      HTML.p(product.description),
      this.renderOffers(product)
    ], { className: "w3-card w3-padding w3-margin" });
  }
For each product, we'll display the title and description, and then render the offers. On certain platforms, Google Play for instance, there can be multiple offers for the same product.
  private renderOffers(product: CdvPurchase.Product) {
    if (!product.offers) return '';

    return HTML.div(
      product.offers.map(offer =>
        HTML.div([
          HTML.div(`${offer.pricingPhases[0].price}`),
          HTML.button(
            'Subscribe',
            {
              onclick: `window.subscriptionService.order("${offer.id}")`,
              className: "w3-button w3-blue"
            }
          )
        ], { className: "w3-section" })
      )
    );
  }
For each offer, we've displayed a "Subscribe" button. When clicked, it will initiate a purchase by calling the order method from our SubscriptionService, that we'll implement below.
At this stage, our UI:
- Shows a list of available products
- Displays product details (title, description)
- Shows pricing for each offer
- Provides purchase buttons
- Handles basic loading state
Step 5: Initiate a purchase
Let's now implement the order method in the SubscriptionService class:
class SubscriptionService {
  // ...
  private order(offerId: string) {
    CdvPurchase.store.order(offerId).then(transaction => {
      this.state.set({ isProcessingOrder: false });
    }).catch(error => {
      this.state.set({ error: error.message });
    });
  }
}
This method calls the cordova plugin's order method and updates the state (thus the UI) to show that we're processing an order.
Step 6: Purchase Event Handling
The purchase flow involves several steps that we need to handle:
- User initiates purchase
- Store processes payment
- App verifies receipt
- App acknowledges purchase
Here's how we handle these events:
class SubscriptionService {
  // ... existing code
  private setupEventHandlers() {
    CdvPurchase.store.when()
      // Products loaded from store
      .productUpdated(() => {
        this.state.set({ products: CdvPurchase.store.products });
      })
      // Purchase approved by store
      .approved(transaction => {
        this.state.set({ isVerifying: true });
        transaction.verify();
      })
      // Receipt verified by Iaptic
      .verified(receipt => {
        this.state.set({
          purchases: CdvPurchase.store.verifiedPurchases,
          isVerifying: false
        });
        receipt.finish();
      })
      // Handle verification failures
      .unverified(receipt => {
        this.state.set({
          isVerifying: false,
          error: 'Purchase verification failed'
        });
        receipt.finish();
      });
      // Handle purchase completion
      .finished(() => {
        this.state.set({ isProcessingOrder: false });
      });
  }
}
A word of explanation:
- The
when()method is used to listen for events from the Cordova plugin. - The
productUpdatedevent is triggered when a product or offer is updated, we want to refresh our UI. - The
approvedevent is triggered when a purchase is approved by the store, we initiate receipt verification. - The
verifiedevent is triggered when a receipt is verified by Iaptic, we can finish the transaction. - The
unverifiedevent is triggered when a receipt failed verification by Iaptic, we want to show an error message. - The
finishedevent is triggered when a purchase is finished, purchase is now complete.
Step 7: Displaying purchase status
Now let's enhance our UI to show our purchases (in-progress or active).
class PageRenderer {
  render(state: State) {
    return HTML.div([
      // Purchase status section
      this.renderPurchaseStatus(state),
      // Products section (from Stage 1)
      HTML.h2('Available Subscriptions'),
      this.renderProducts(state)
    ]);
  }
We've added a call to "renderPurchaseStatus" to display the current state of current purchases.
  private renderPurchaseStatus(state: State) {
    // Show processing state
    if (state.isProcessingOrder) {
      return HTML.div([
        HTML.img('', { src: "img/loading.gif" }),
        HTML.p('Processing your purchase...')
      ], { className: "w3-container w3-center" });
    }

    // Show verification state
    if (state.isVerifying) {
      return HTML.div([
        HTML.img('', { src: "img/loading.gif" }),
        HTML.p('Verifying your purchase...')
      ], { className: "w3-container w3-center" });
    }

    // Show error if any
    if (state.error) {
      return HTML.div(
        `Error: ${state.error}`,
        { className: "w3-panel w3-red" }
      );
    }

    // Show active subscription
    if (state.activeSubscription) {
      return HTML.div([
        HTML.h3('Active Subscription'),
        HTML.p(`Valid until: ${state.activeSubscription.expiryDate}`),
        HTML.p('✅ Premium features unlocked!')
      ], { className: "w3-panel w3-green" });
    }

    return HTML.div(
      'No active subscription',
      { className: "w3-panel w3-grey" }
    );
  }
We've added:
- Loading indicator with a purchase is being processed, then validated.
- A block for error messages if any.
- Active subscription details
The UI now provides complete feedback about the purchase process while maintaining a clean and organized structure.
Step 8: Testing
Launch the app on a device or simulator and test various scenarios:
- Successful purchases
- Failed purchases
- Receipt validation
- Subscription management
Common Issues and Solutions
- Security Policy Errors: Add validator.iaptic.com to your Content-Security-Policy
- Missing Purchases: Initialize the plugin at app startup
- Unacknowledged Purchases: Implement proper error handling
- Receipt Validation Failures: Check network connectivity and API keys
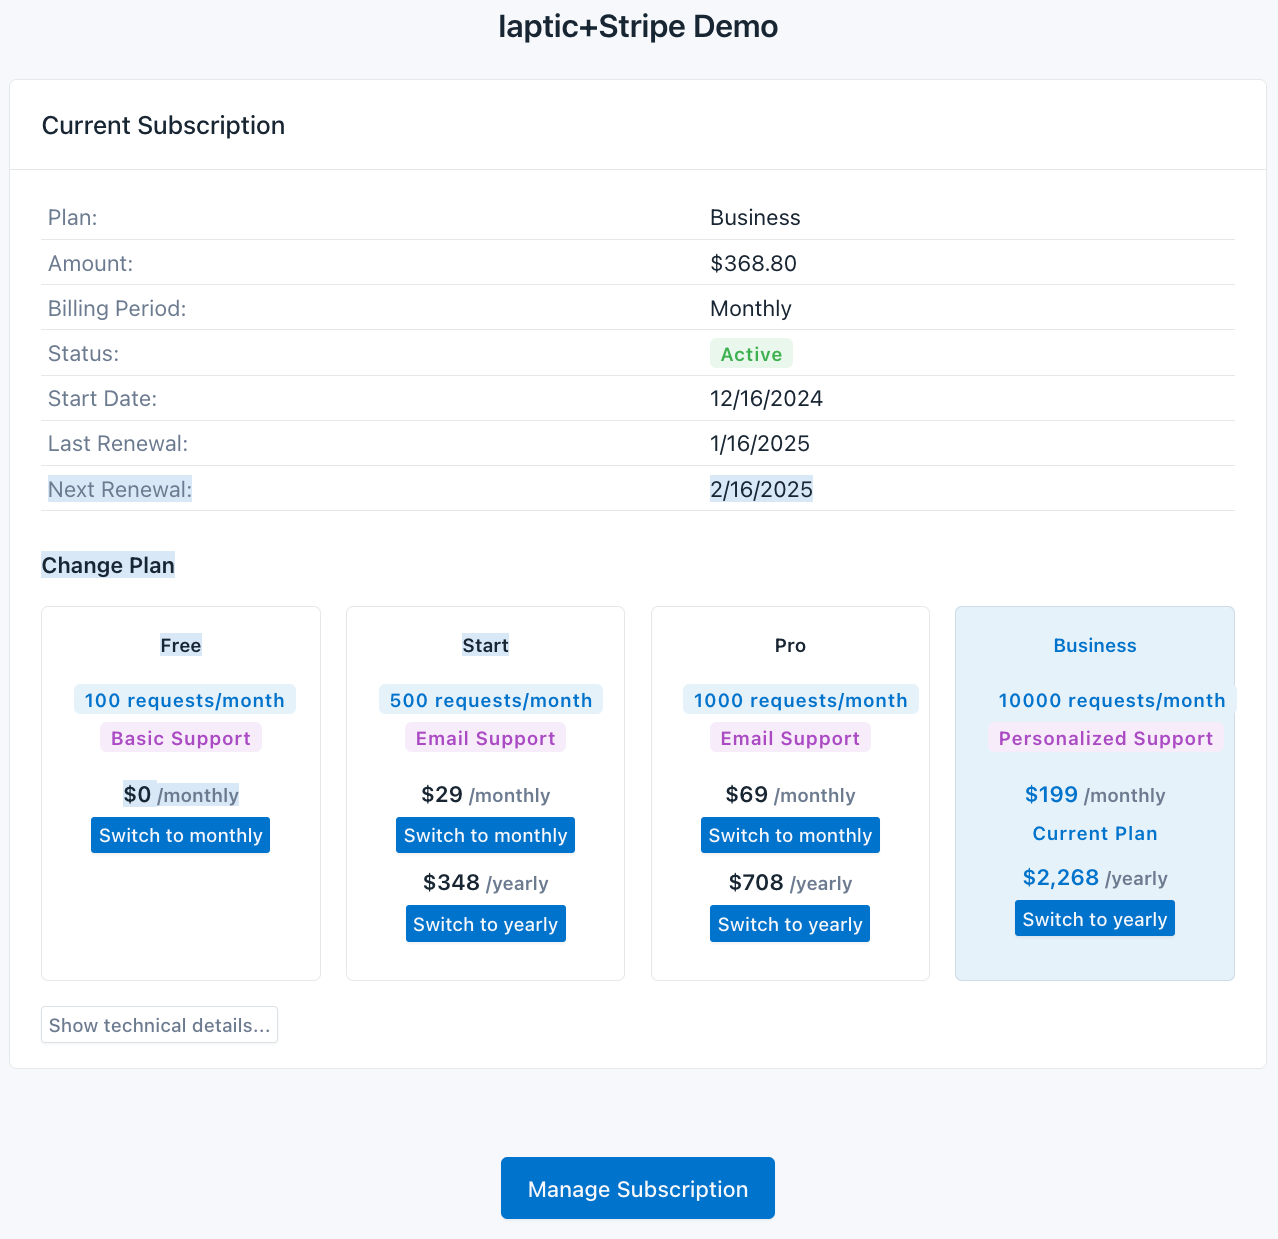
Overview
This section helps you integrate IapticJS into a web environment. We'll create a simple web app showing products, starting a checkout, and letting users manage subscriptions. Iaptic manages product listing, purchase flows, and subscription lifecycle internally via Stripe.
Step 1: Include and Initialize
Include iaptic-js in your project. For example, include the UMD script:
<script src="https://cdn.jsdelivr.net/npm/[email protected]/dist/iaptic-js.js"></script>
Then create a Stripe adapter instance:
const iaptic = IapticJS.createAdapter({
  type: 'stripe',
  appName: '[YOUR_APP_NAME]',
  apiKey: '[YOUR_PUBLIC_API_KEY]',
  stripePublicKey: '[YOUR_STRIPE_PUBLIC_KEY]'
});
The HTML page needs container elements for displaying messages, subscriptions, pricing:
<div id="message-container"></div>
<div id="subscription-container"></div>
<div id="pricing-container"></div>
<div id="onetime-container"></div>
Step 2: Display Products and Prices
Use iaptic to fetch products, then split them into subscriptions and one-time purchases:
async function displayPrices() {
  const subscriptionContainer = document.getElementById('pricing-container');
  const onetimeContainer = document.getElementById('onetime-container');
  if (!subscriptionContainer || !onetimeContainer) return;

  try {
    const products = await iaptic.getProducts();
    const subscriptionProducts = products.filter(p => p.type === 'paid subscription');
    const otherProducts = products.filter(p => ['non_consumable','consumable'].includes(p.type));

    // Render each group in separate containers
    subscriptionContainer.innerHTML = renderSubscriptionProducts(subscriptionProducts);
    onetimeContainer.innerHTML = renderOneTimeProducts(otherProducts);
  } catch (err) {
    console.error('Error loading prices:', err);
  }
}
Step 3: Purchasing Items
Use the following handlers to start a purchase session with Stripe:
async function handlePurchase(offerId) {
  try {
    await iaptic.order({
      offerId,
      applicationUsername: 'user_dev',
      successUrl: returnUrl('success'),
      cancelUrl: returnUrl('cancel')
    });
  } catch (err) {
    console.error('Error creating purchase:', err);
  }
}
Similarly, you can create a "Subscribe" button handler for subscription offers.
Step 4: Manage Subscriptions
After users have an active subscription, you can provide a "Manage Subscription" button:
async function handleManageSubscription() {
  try {
    await iaptic.redirectToCustomerPortal({
      returnUrl: window.location.href
    });
  } catch (err) {
    console.error('Error managing subscription:', err);
  }
}
This sends them to Stripe's Customer Portal to update payment methods, cancel, or switch plans.
Step 5: Initializing Your Page
On page load, check for existing purchases and display your current subscription details:
document.addEventListener('DOMContentLoaded', async () => {
  const purchases = await iaptic.getPurchases();
  displayPrices();
  displaySubscriptionDetails(purchases);
});
Next Steps
- For a complete implementation with IapticJS, see our Stripe Integration documentation.
- Add webhook handling for server-side events
React Native Integration
Overview
This integration uses the official react-native-iaptic SDK for robust in-app purchases with unified iOS/Android APIs and secure receipt validation.
Step 1: Install SDK
The SDK is available on npm and yarn.
npm install --save react-native-iaptic
# or
yarn add react-native-iaptic
Step 2: Initialize SDK
At app startup, we should initialize the SDK. This starts by creating a IapticRN instance, make sure it's a singleton in your app.
import { IapticRN } from 'react-native-iaptic';

// Configure with your app details
const iaptic = new IapticRN({
  appName: '[APP_NAME]',
  publicKey: '[PUBLIC_KEY]',
  iosBundleId: '[IOS_BUNDLE_ID]'
});
This configuration creates a singleton instance of the Iaptic SDK with:
- appName: Application identifier for backend services
- publicKey: API key for receipt validation (get from dashboard)
- iosBundleId: Required for iOS App Store validation
Step 3: Define Products
You should immediately define your products and what entitlements they provide with the setProductDefinitions method. So that when the SDK processes pending purchases, it knows what to do.
// Configure your products and entitlements
iaptic.setProductDefinitions([
  {
    id: 'premium_monthly',
    type: 'paid subscription',
    entitlements: ['premium']
  },
  {
    id: 'yearly_pro',
    type: 'paid subscription',
    entitlements: ['pro_features']
  }
]);
Product definitions map store offerings to application features:
- id: Must match store console entries exactly
- type: Determines purchase behavior (subscription vs one-time)
- entitlements: Features unlocked by this purchase
Step 4: Initialize Connection
We're now ready to initialize the store.
try {
  await iaptic.initialize();
  // Store is ready, products loaded
} catch (error) {
  console.error('Initialization failed:', error);
}
Initialization performs several critical tasks:
- Verifies store connectivity
- Loads product information from stores
- Processes any pending purchases
Step 5: Purchase Handling
Here's how you can initiate a purchase when the user clicks "Buy".
async function handlePurchase(offer: IapticOffer) {
  try {
    const product = iaptic.products.get(productId);
    const offer = product?.offers[0];

    if (offer) {
      await iaptic.order(offer);
      // Purchase successful
    }
  } catch (error) {
    console.error('Purchase failed:', error);
  }
}
The purchase flow:
- Get product details from local cache
- Find available offers (different pricing tiers)
- Initiate platform-native purchase dialog
Step 6: Check Entitlements
// Check premium access
if (iaptic.checkEntitlement('premium')) {
  // Unlock premium features
}

// List all active entitlements
const unlockedFeatures = iaptic.listEntitlements();
Entitlement checks should be used throughout your app to:
- Gate premium features
- Modify UI state
Step 7: Event Handling
// Listen for subscription updates
iaptic.addEventListener('subscription.updated', (reason, purchase) => {
  console.log(`Subscription ${purchase.id} ${reason}`);
});

// Listen for purchase updates
iaptic.addEventListener('purchase.updated', (purchase) => {
  console.log(`Purchase ${purchase.id} ${purchase.status}`);
});
Key events to handle:
- subscription.updated: For renewal/cancellation flows
- purchase.updated: Track transaction lifecycle
Step 8: Restore Purchases
async function restorePurchases() {
  try {
    await iaptic.restorePurchases((processed, total) => {
      console.log(`Restored ${processed}/${total} purchases`);
    });
  } catch (error) {
    console.error('Restore failed:', error);
  }
}
Restore functionality is required by:
- App Store Review Guidelines 3.1.1
- Play Store Developer Policies
UI Components Example
function StoreScreen() {
  const [products, setProducts] = useState<IapticProduct[]>([]);
  const [entitlements, setEntitlements] = useState<string[]>([]);
  const [pendingPurchase, setPendingPurchase] = useState<IapticPurchase|null>(null);

  // Load products on mount
  useEffect(() => {
    iaptic.getProducts().then(setProducts);
  }, []);

  // Refresh entitlements when purchases change
  useEffect(() => {
    setEntitlements(iaptic.listEntitlements());
  }, [pendingPurchase]);

  return (
    <ScrollView contentContainerStyle={styles.container}>
      {/* Entitlement-based feature gates */}
      <View style={styles.featureContainer}>
        <Text style={styles.statusText}>
          Premium Features: {entitlements.includes('premium') ? '✅ Unlocked' : '🔒 Locked'}
        </Text>
      </View>

      {/* Product List */}
      {products.map(product => (
        <View key={product.id} style={styles.productCard}>
          <Text style={styles.productTitle}>{product.title}</Text>
          <Text>{product.description}</Text>

          {product.offers.map(offer => (
            <TouchableOpacity
              key={offer.id}
              style={[
                styles.purchaseButton,
                pendingPurchase?.offerId === offer.id && styles.buttonDisabled
              ]}
              onPress={() => iaptic.order(offer)}
              disabled={!!pendingPurchase}
            >
              <Text style={styles.buttonText}>
                {pendingPurchase?.offerId === offer.id
                  ? `Processing...`
                  : `${offer.pricingPhases[0].price}`
                }
              </Text>
              {offer.pricingPhases.length > 1 && (
                <Text style={styles.pricingPhases}>
                  {utils.formatBillingCycleEN(offer.pricingPhases[0])}
                </Text>
              )}
            </TouchableOpacity>
          ))}
        </View>
      ))}

      {/* Restore Purchases */}
      <TouchableOpacity
        style={styles.restoreButton}
        onPress={() => iaptic.restorePurchases()}
      >
        <Text style={styles.buttonText}>Restore Previous Purchases</Text>
      </TouchableOpacity>
    </ScrollView>
  );
}

const styles = StyleSheet.create({
  container: {
    padding: 16,
    backgroundColor: '#f5f5f5'
  },
  productCard: {
    backgroundColor: 'white',
    borderRadius: 8,
    padding: 16,
    marginBottom: 12,
    elevation: 2
  },
  purchaseButton: {
    backgroundColor: '#007AFF',
    padding: 12,
    borderRadius: 8,
    marginTop: 8,
    alignItems: 'center'
  },
  buttonText: {
    color: 'white',
    fontWeight: 'bold'
  },
  restoreButton: {
    backgroundColor: '#34C759',
    padding: 12,
    borderRadius: 8,
    marginTop: 20
  },
  statusText: {
    fontSize: 16,
    marginBottom: 20,
    textAlign: 'center'
  },
  pricingPhases: {
    fontSize: 12,
    color: 'rgba(255,255,255,0.8)',
    marginTop: 4
  },
  buttonDisabled: {
    opacity: 0.6
  }
});
This component demonstrates:
- Purchase state management
- Restore purchases functionality
- Platform-appropriate UI styling
- Loading states and error handling
- Entitlement checks
- Product listing with multi-phase pricing
Common Issues
- Entitlement Not Granted: Verify product definitions and receipt validation
- Purchase Stuck Pending: Check network connectivity and payment status
- Platform Mismatch: Ensure iOS/Android configurations match store listings